
Lesson
Notice water from air.
SCurious ScienceIdentify condensation and distinguish it from melting.
Changes of state · Trace outside droplets to water vapor in the air.
Question
Where do the drops on the outside of a cold cup come from?
 Where do the drops on the outside of a cold cup come from?
Answer
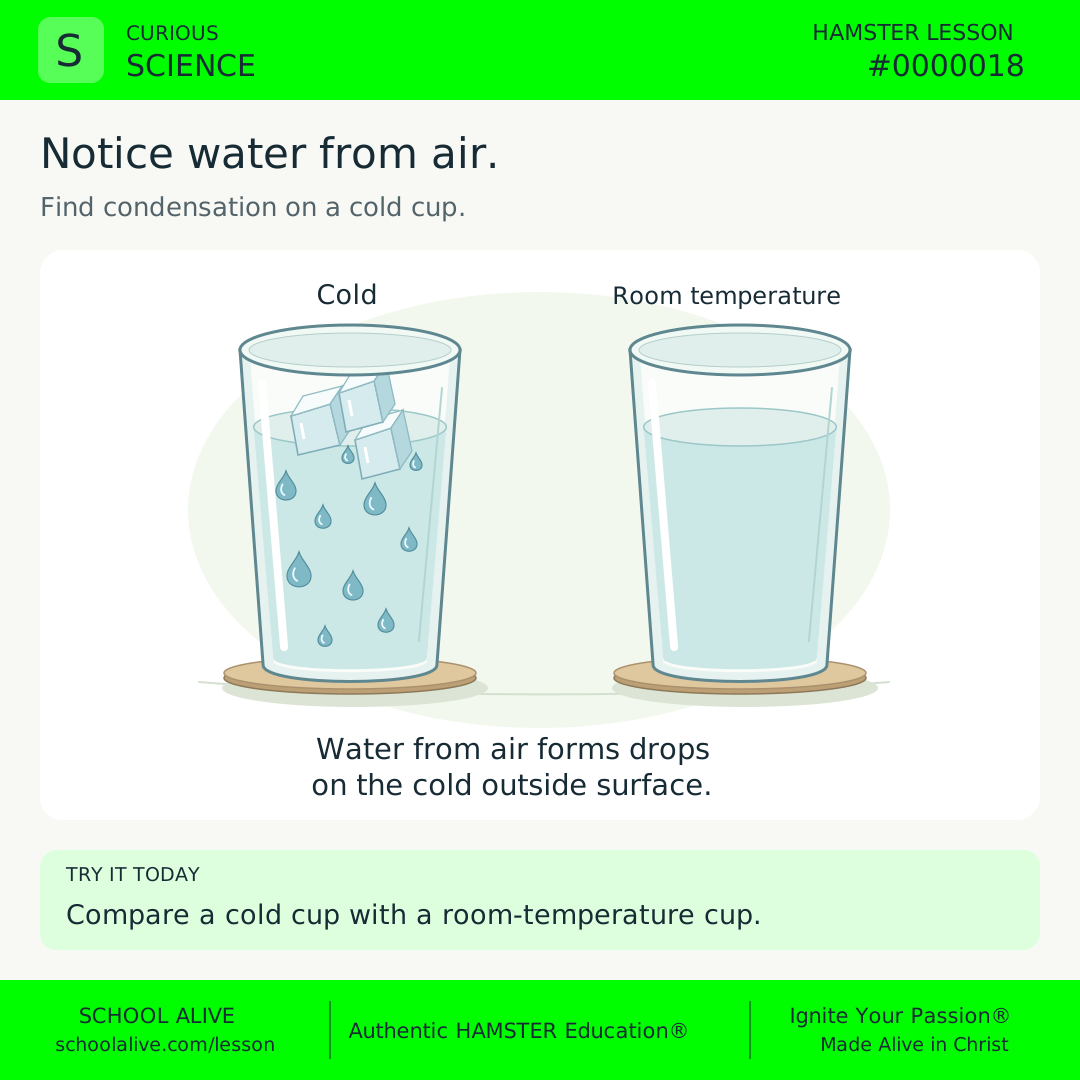
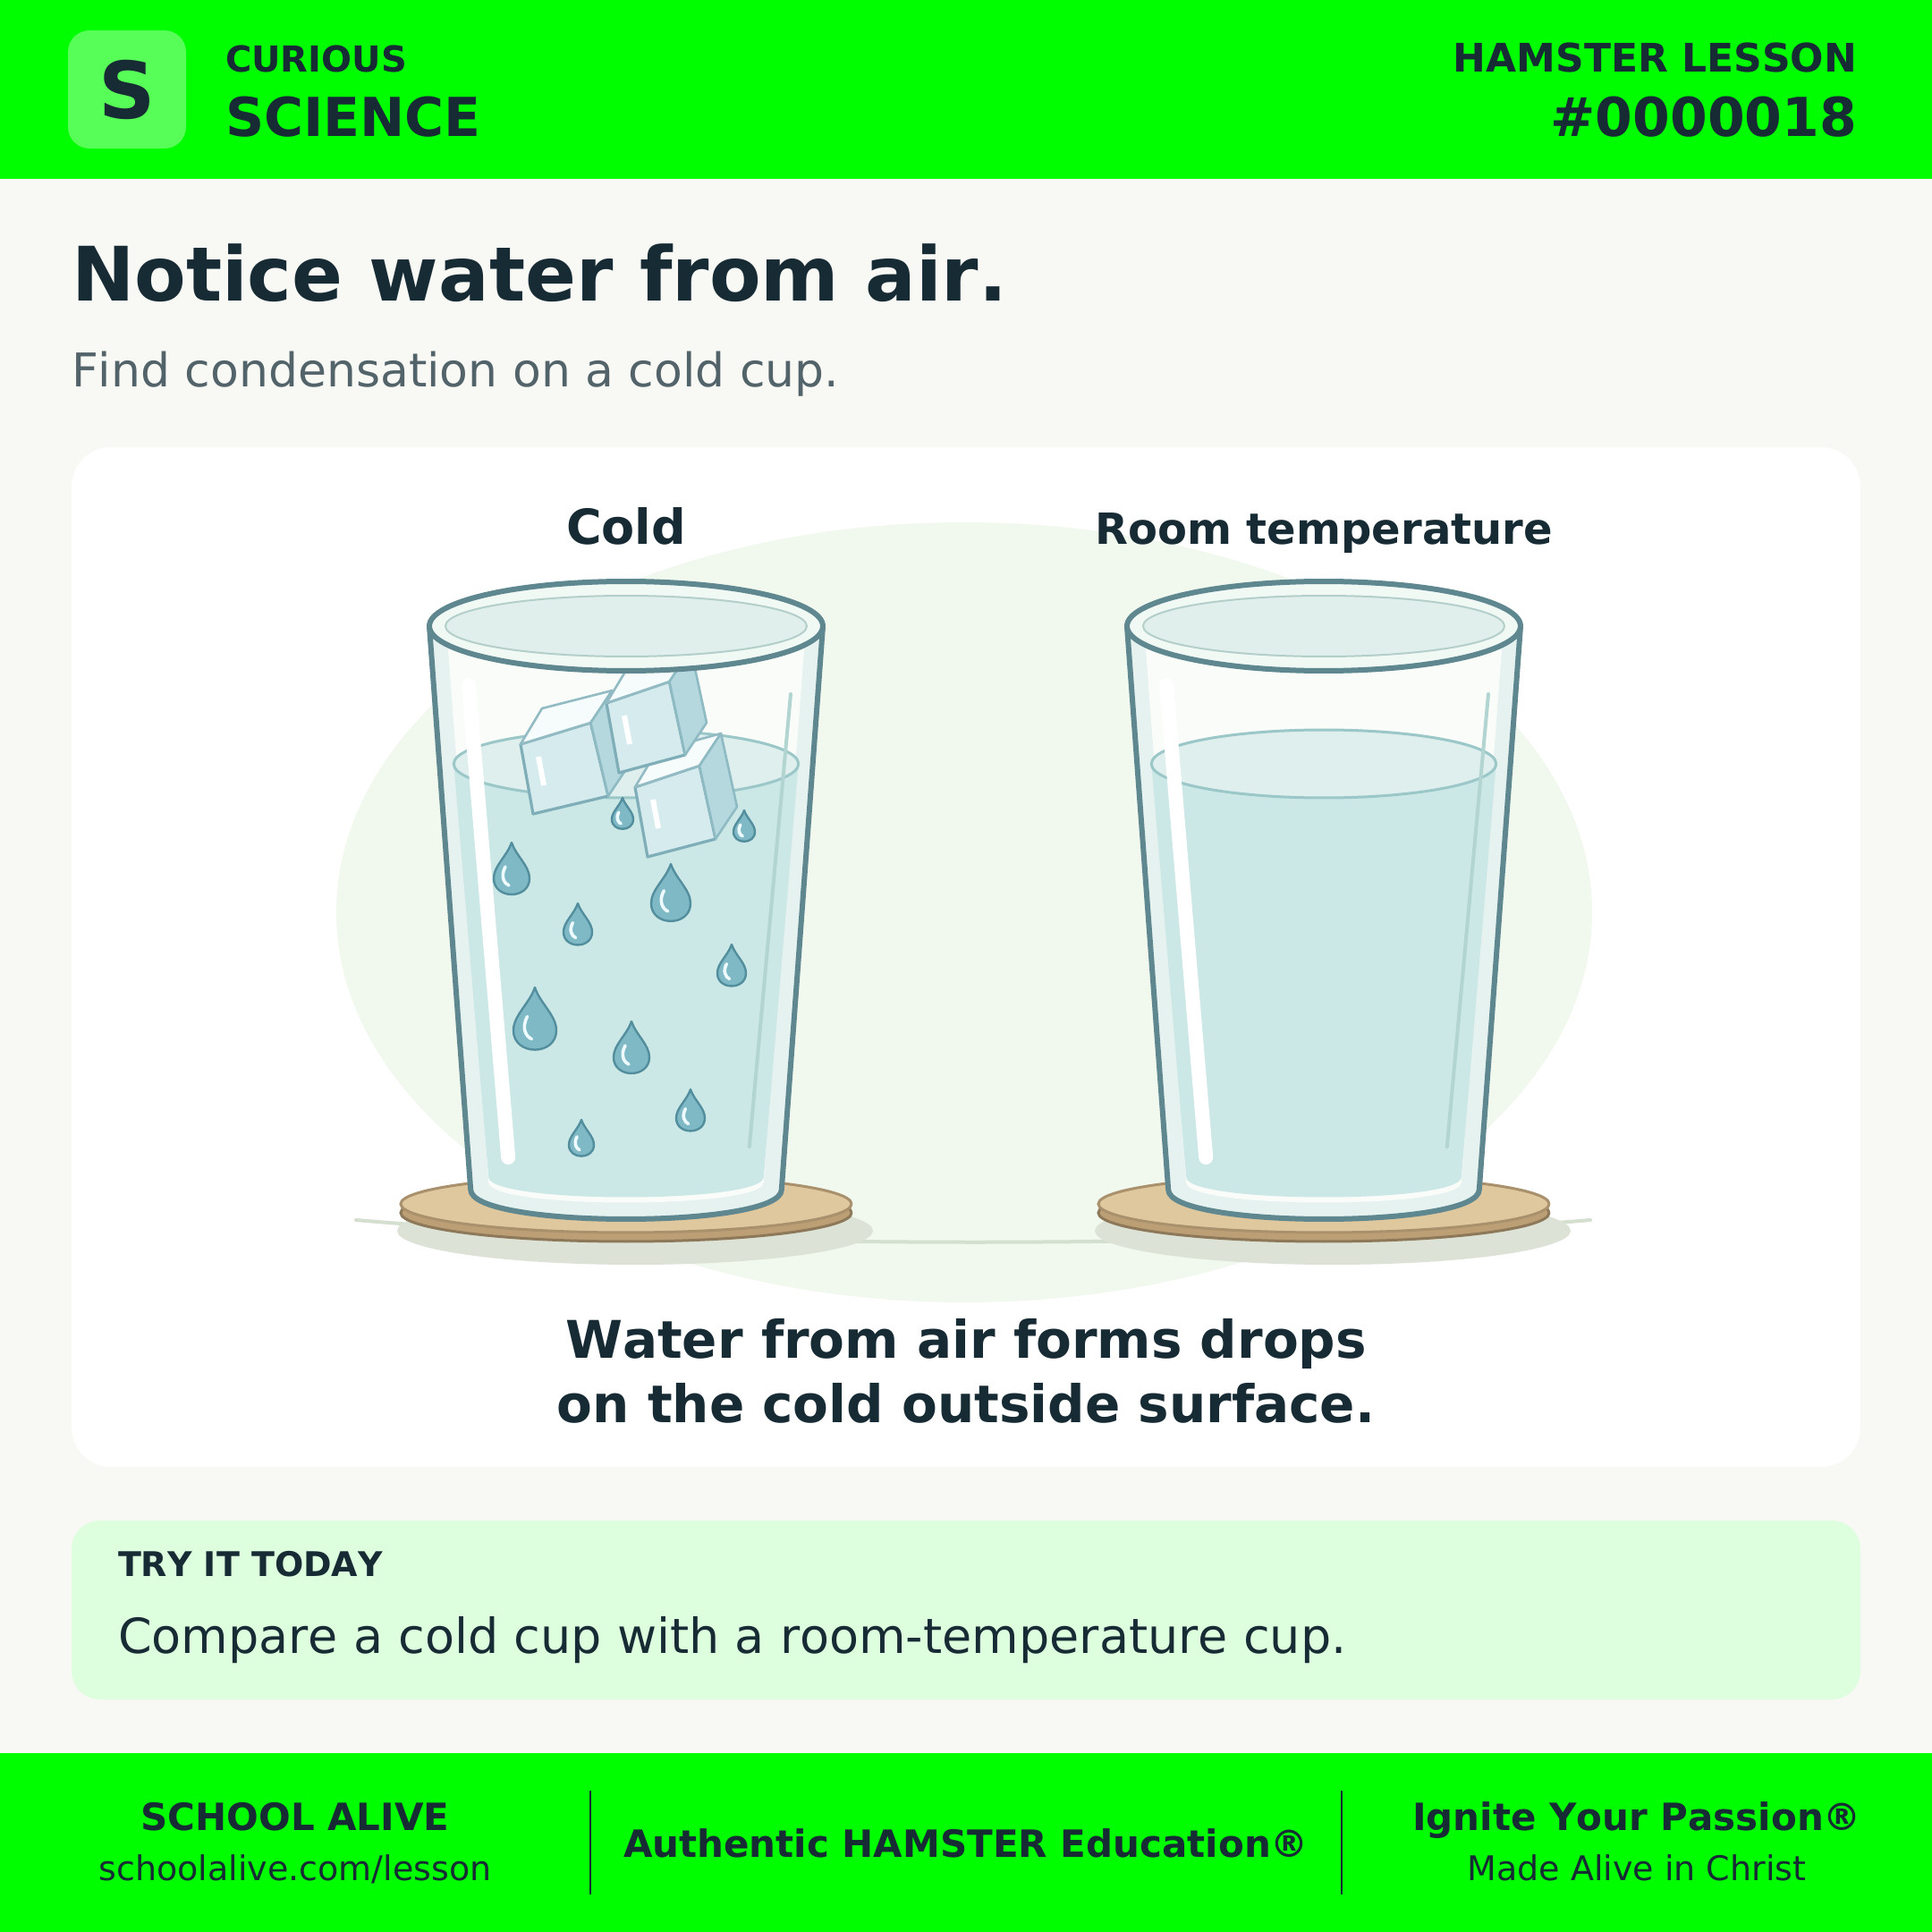
Water vapor in the surrounding air can cool and become liquid drops on the cold surface. This change from gas to liquid is condensation; the water has not passed through the cup.
 Water vapor in the surrounding air can cool and become liquid drops on the cold surface. This change from gas to liquid is condensation; the water has not passed through the cup.
History
In 1803, Luke Howard published a way to classify clouds. His careful observations helped people describe the changing sky with shared names still used today.
 In 1803, Luke Howard published a way to classify clouds. His careful observations helped people describe the changing sky with shared names still used today.
Example
Dry the outside of a cup of ice water. Leave it on a tray without spilling. New drops may form outside even though the cup has no holes.
 Dry the outside of a cup of ice water. Leave it on a tray without spilling. New drops may form outside even though the cup has no holes.
Insight
Water vapor is invisible. The drops we see are liquid water, not visible gas. Ice melting inside the cup is a different change: solid water becomes liquid.
 Water vapor is invisible. The drops we see are liquid water, not visible gas. Ice melting inside the cup is a different change: solid water becomes liquid.
Connection
Condensation helps form dew and cloud droplets. A cup on a table can introduce us to changes of state that also matter in the water cycle.
 Condensation helps form dew and cloud droplets. A cup on a table can introduce us to changes of state that also matter in the water cycle.
Challenge
With an adult, compare matching cups of ice water and room-temperature water. Dry their outsides and observe for fifteen minutes. Draw where drops appear and explain where that water came from.
 With an adult, compare matching cups of ice water and room-temperature water. Dry their outsides and observe for fifteen minutes. Draw where drops appear and explain where that water came from.
Dive deeper
Context
A cold drink may leave a wet ring on a table even when nobody spills it. Instead of assuming the container leaks, observe its outside surface and consider the air around it.
Understand the idea
Air contains water in its gaseous form, called water vapor. The cold cup cools the air next to it. When that air reaches its dew point, vapor can condense into liquid drops on the cup. Cooling changes the water’s state; it does not create new water.
Keep two changes separate. Inside, an ice cube melts from solid to liquid. Outside, water vapor condenses from gas to liquid. Clouds also contain tiny liquid droplets, and some contain ice crystals. The visible cloud is not simply invisible water vapor made larger.
The amount of condensation depends on moisture in the air and the surface temperature. In dry conditions, few or no drops may appear. Record that honestly; it does not show that air contains no water. Keep the cups, location, starting water level, and observation times alike so the temperature comparison is useful.
Compare two cup surfaces
- With an adult, place two matching, unbreakable, uninsulated cups on a tray. Fill one with ice and cold water and the other with room-temperature water to the same marked level. Dry both outsides.
- Leave both cups in the same room without touching or spilling them. At five, ten, and fifteen minutes, draw or describe their outside surfaces. If needed, continue to thirty minutes.
- Compare the records. Label any outside drops “condensation” and the shrinking ice “melting.” If drops do not appear, record that result and discuss the room’s moisture and the cup’s temperature. Wipe up the tray.
Discuss together
- Why does the water outside an intact cup require a different explanation from the melting ice inside?
- What can you report confidently if one cup has many drops and the other has none?
Introducing Microlessons
One idea. Seven steps. A practical discovery.
Begin with a question and a clear answer. Explore the history, an example, and a deeper insight. Connect the idea to everyday life, then put it into practice.
Read on your own or talk it through together. Each prepared edition includes a shareable image, concise text, and a one-page PDF.
How the 7 steps work
Each lesson moves from curiosity to understanding to practical action. Here is what each step contributes.
Question
Opens a question worth exploring and gives the lesson a clear purpose.
Answer
Gives a clear starting point that the rest of the lesson helps us understand.
History
Shows how people encountered the idea and how their discoveries shaped what we know.
Example
Makes the idea concrete through a situation, demonstration, or worked example.
Insight
Draws out the deeper principle so we understand why the idea matters.
Connection
Connects the idea to other disciplines, our faith, and everyday life.
Challenge
Turns understanding into action through something to try, practice, or explain.