
Lesson
Arrange before you glue.
AColorful ArtCompare two arrangements and explain an artistic choice.
Composition · Explore how placement changes a picture.
Question
How can the same paper shapes make different pictures?
 How can the same paper shapes make different pictures?
Answer
Composition is the arrangement of parts in an artwork. Moving, turning, and overlapping shapes can change what we notice without adding new pieces.
 Composition is the arrangement of parts in an artwork. Moving, turning, and overlapping shapes can change what we notice without adding new pieces.
History
Late in his career, Henri Matisse made artworks from painted paper shapes. He and his assistants could reposition pinned shapes before mounting the finished composition.
 Late in his career, Henri Matisse made artworks from painted paper shapes. He and his assistants could reposition pinned shapes before mounting the finished composition.
Example
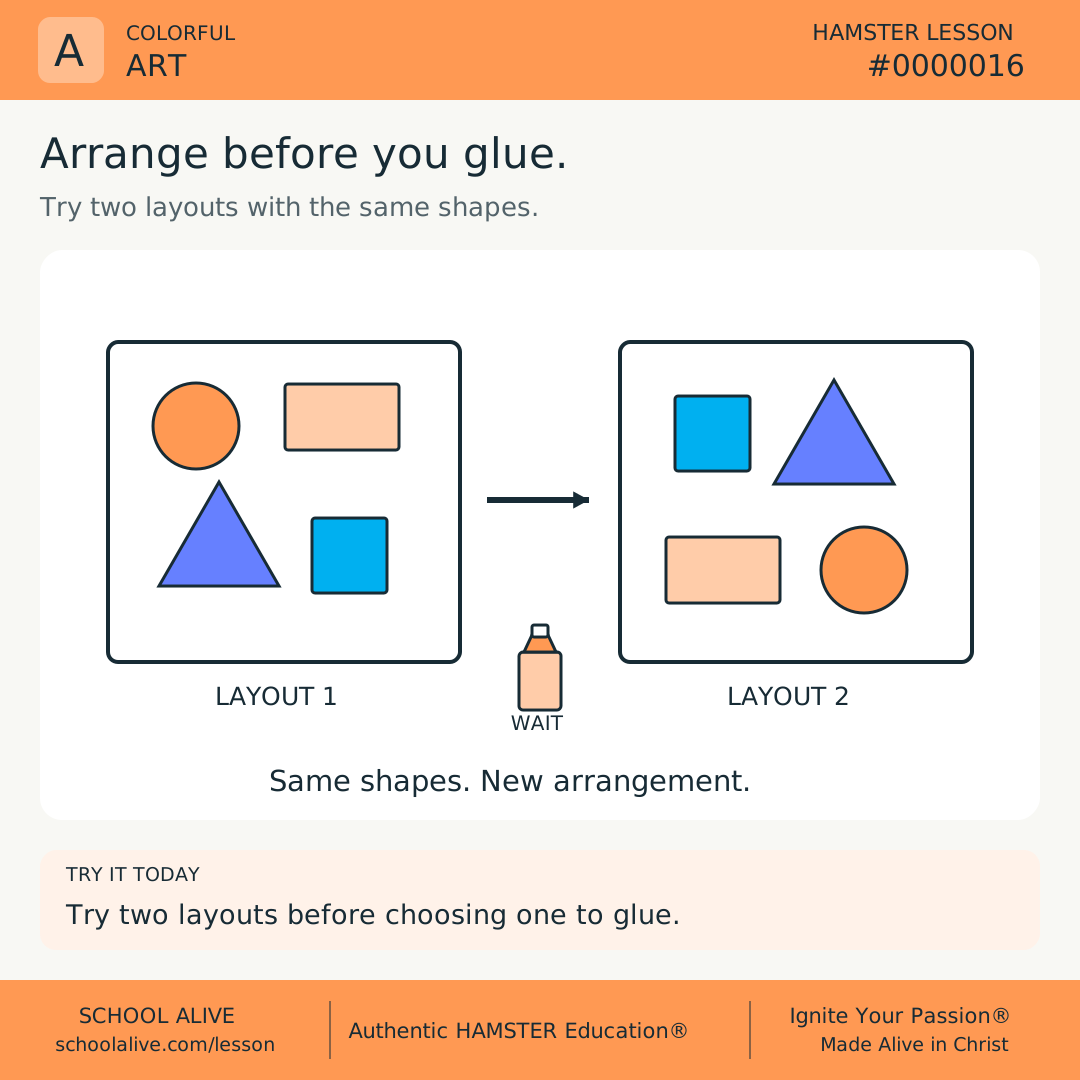
Place a circle above a rectangle, then move it beside the rectangle. Keep both shapes unchanged. Compare the spaces and the part your eye notices first.
 Place a circle above a rectangle, then move it beside the rectangle. Keep both shapes unchanged. Compare the spaces and the part your eye notices first.
Insight
The first arrangement is a starting point. Trying another layout helps an artist make a deliberate choice; different arrangements can work for different purposes.
 The first arrangement is a starting point. Trying another layout helps an artist make a deliberate choice; different arrangements can work for different purposes.
Connection
Artists and designers arrange parts when making pictures, book covers, and posters. Careful placement can help a viewer notice the idea we want to share.
 Artists and designers arrange parts when making pictures, book covers, and posters. Careful placement can help a viewer notice the idea we want to share.
Challenge
Arrange four paper shapes on a sheet without glue. Sketch that layout, rearrange the same four shapes, and sketch again. Choose one version and explain one placement you prefer before gluing.
 Arrange four paper shapes on a sheet without glue. Sketch that layout, rearrange the same four shapes, and sketch again. Choose one version and explain one placement you prefer before gluing.
Dive deeper
Context
An artwork is more than a collection of separate pieces. Their relationships help create the whole picture. Paper shapes let us explore those relationships by moving them before making a permanent choice.
Understand the idea
Composition concerns how parts are arranged. A circle near the center and the same circle near an edge occupy different relationships to the rest of the picture. Notice specific changes in spacing, overlap, and direction rather than deciding that one layout is automatically correct.
Matisse’s studio practice left room for revision: pinned forms could be moved before final mounting. Our classroom version uses loose paper pieces on a tabletop, not pins. We are learning from a way of working rather than copying one of his finished artworks.
A useful comparison keeps the pieces the same while changing their placement. Make a quick sketch of each version so you can remember both. Ask a partner what they notice first, listen to their observation, and decide whether that supports your own purpose. Artistic choices can have reasons without requiring everyone to prefer the same result.
Two layouts, one set of shapes
- Use four pre-cut or torn colored paper shapes and one plain sheet. If cutting, use child-safe scissors with an adult’s guidance. Leave the glue aside.
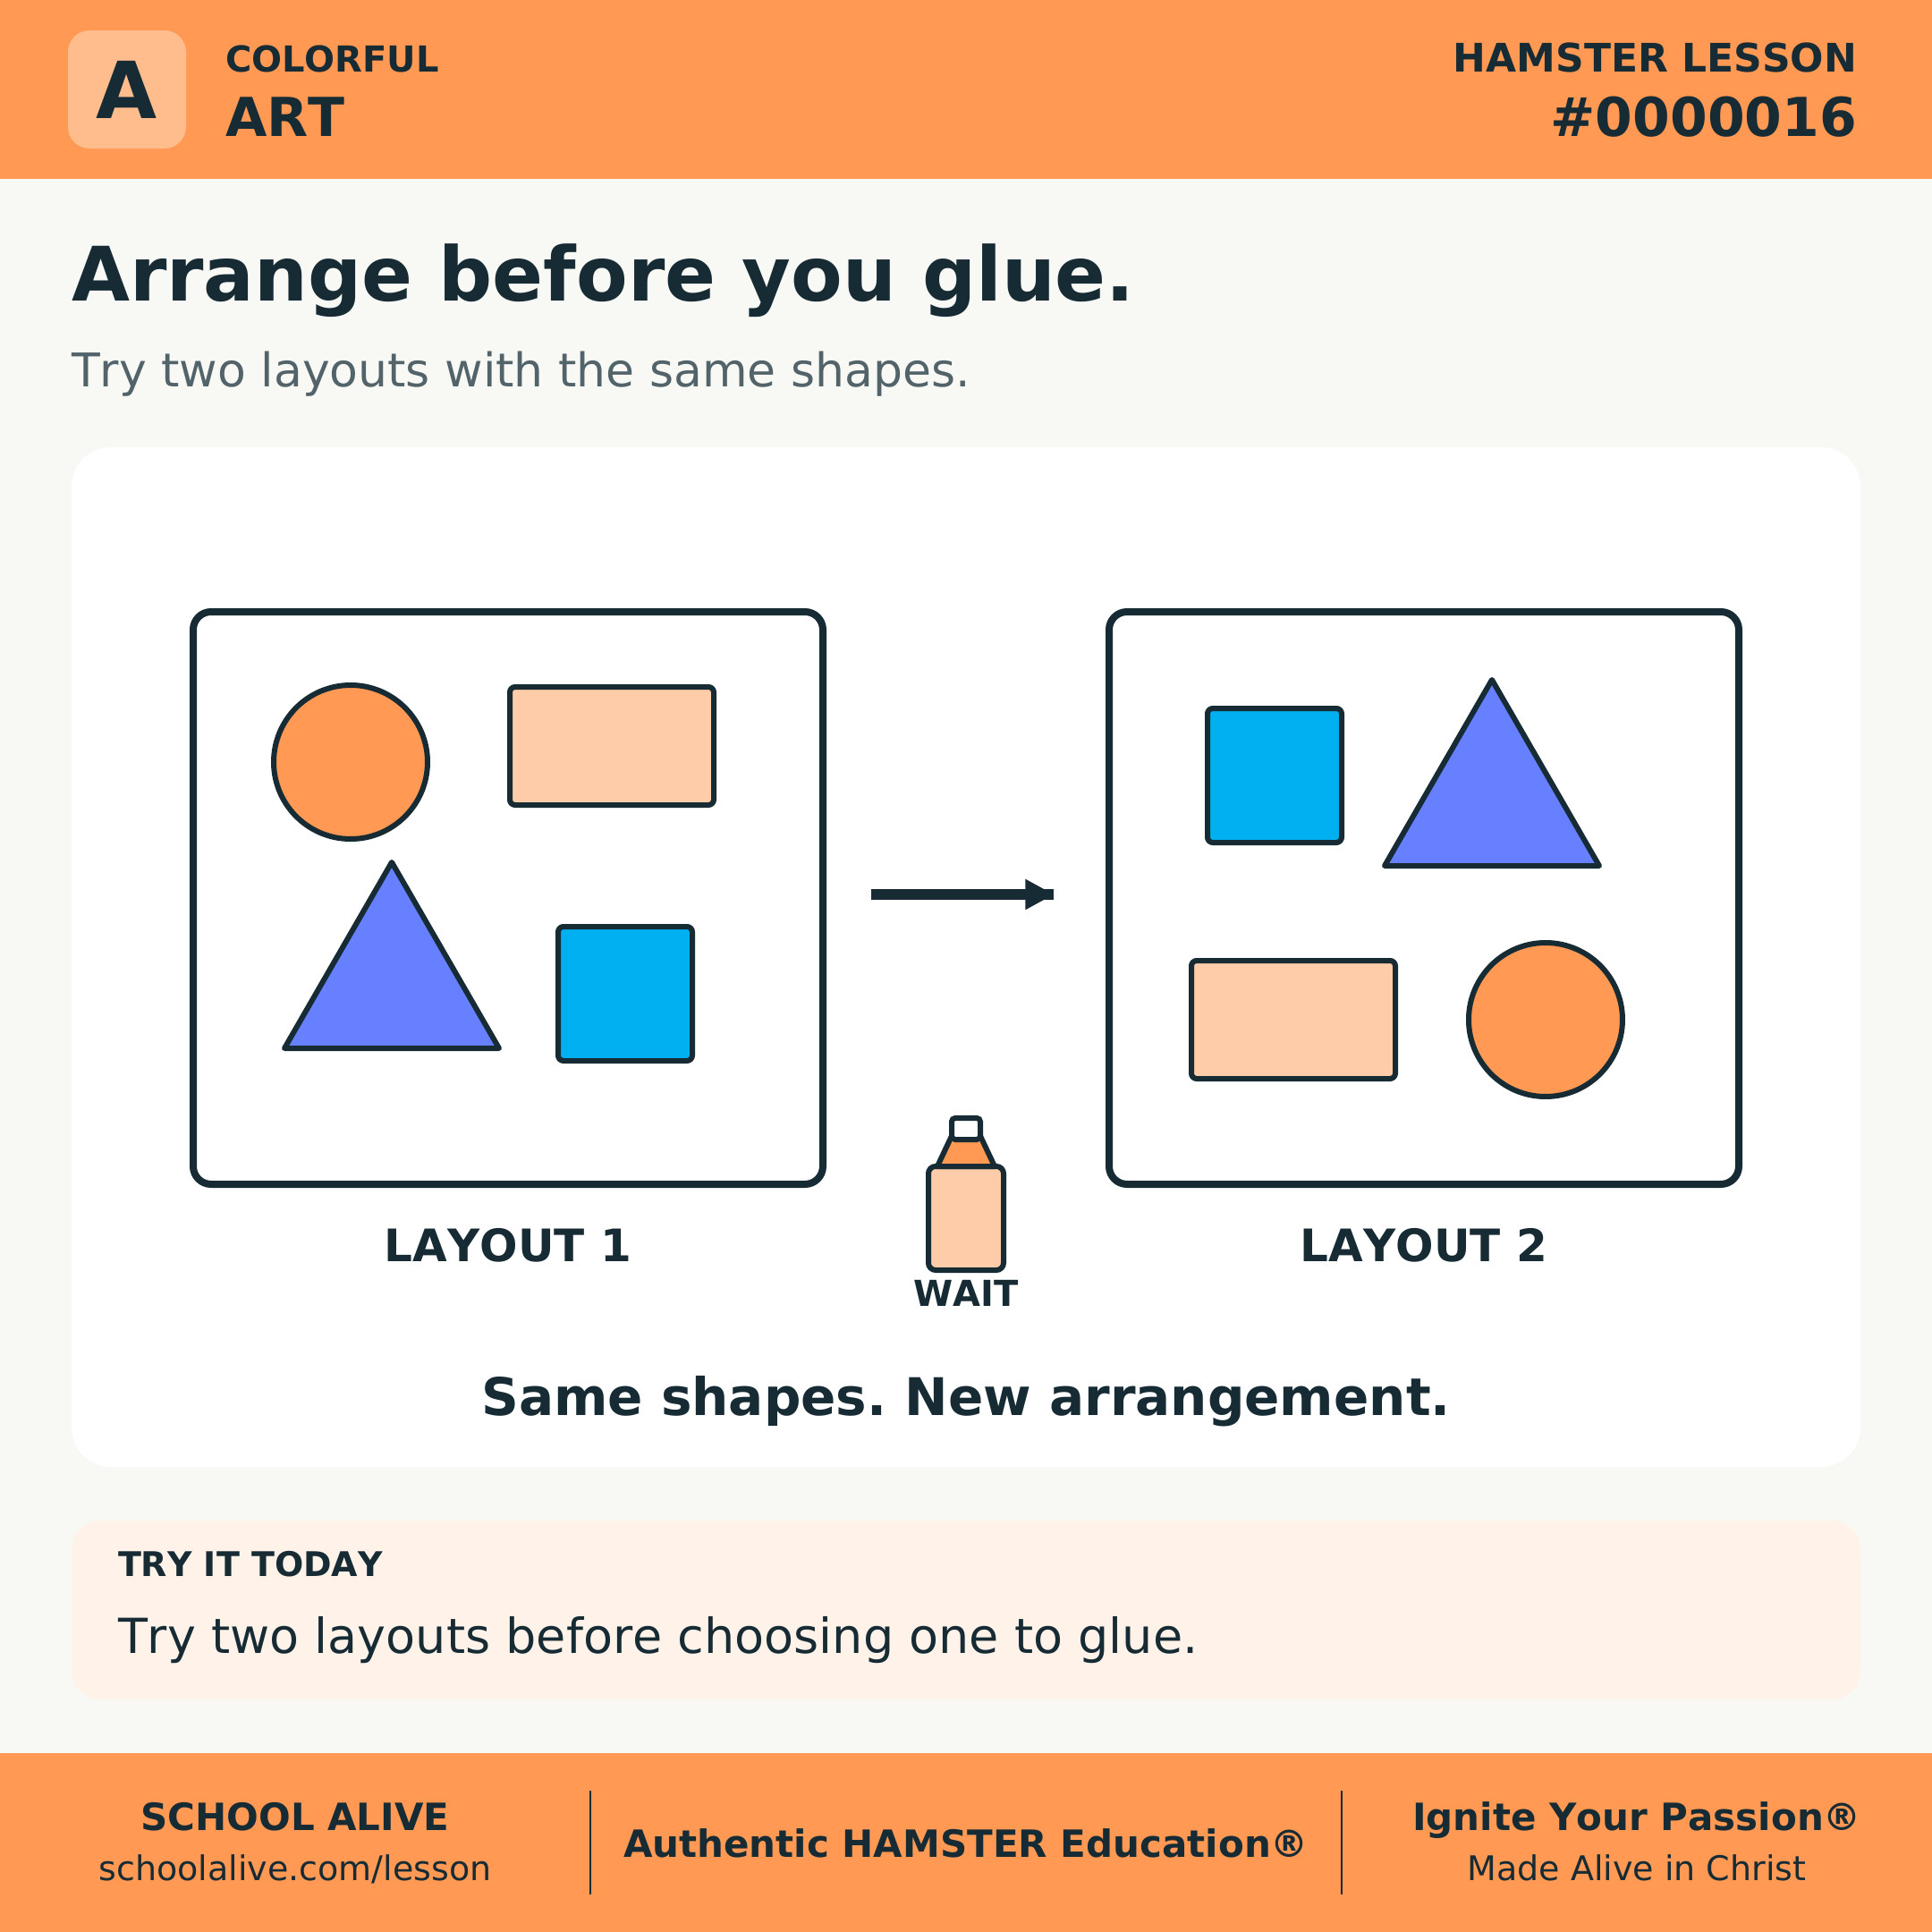
- Arrange the four pieces and make a quick pencil sketch. Move or turn at least two pieces, without changing their size or color, and sketch this second layout.
- Compare both sketches with a partner. Describe one difference in spacing or overlap. Choose the arrangement that fits your idea, then glue it if you wish.
Discuss together
- What did moving one shape change about the spaces around it?
- How can two people prefer different arrangements and both explain their choices thoughtfully?
Introducing Microlessons
One idea. Seven steps. A practical discovery.
Begin with a question and a clear answer. Explore the history, an example, and a deeper insight. Connect the idea to everyday life, then put it into practice.
Read on your own or talk it through together. Each prepared edition includes a shareable image, concise text, and a one-page PDF.
How the 7 steps work
Each lesson moves from curiosity to understanding to practical action. Here is what each step contributes.
Question
Opens a question worth exploring and gives the lesson a clear purpose.
Answer
Gives a clear starting point that the rest of the lesson helps us understand.
History
Shows how people encountered the idea and how their discoveries shaped what we know.
Example
Makes the idea concrete through a situation, demonstration, or worked example.
Insight
Draws out the deeper principle so we understand why the idea matters.
Connection
Connects the idea to other disciplines, our faith, and everyday life.
Challenge
Turns understanding into action through something to try, practice, or explain.