
Lesson
Fold, test, and improve.
ECreative EngineeringCompare two paper shapes with a fair test.
Structural engineering · Shape, load, and improvement.
Question
Can one sheet of paper carry more by changing its shape?
 Can one sheet of paper carry more by changing its shape?
Answer
Yes. Folds can help paper resist bending. Test the design: not every fold works equally well.
 Yes. Folds can help paper resist bending. Test the design: not every fold works equally well.
History
Engineers also use folding in space. The Webb telescope folded for launch and unfolded afterward; there the goal was fitting inside its rocket.
 Engineers also use folding in space. The Webb telescope folded for launch and unfolded afterward; there the goal was fitting inside its rocket.
Example
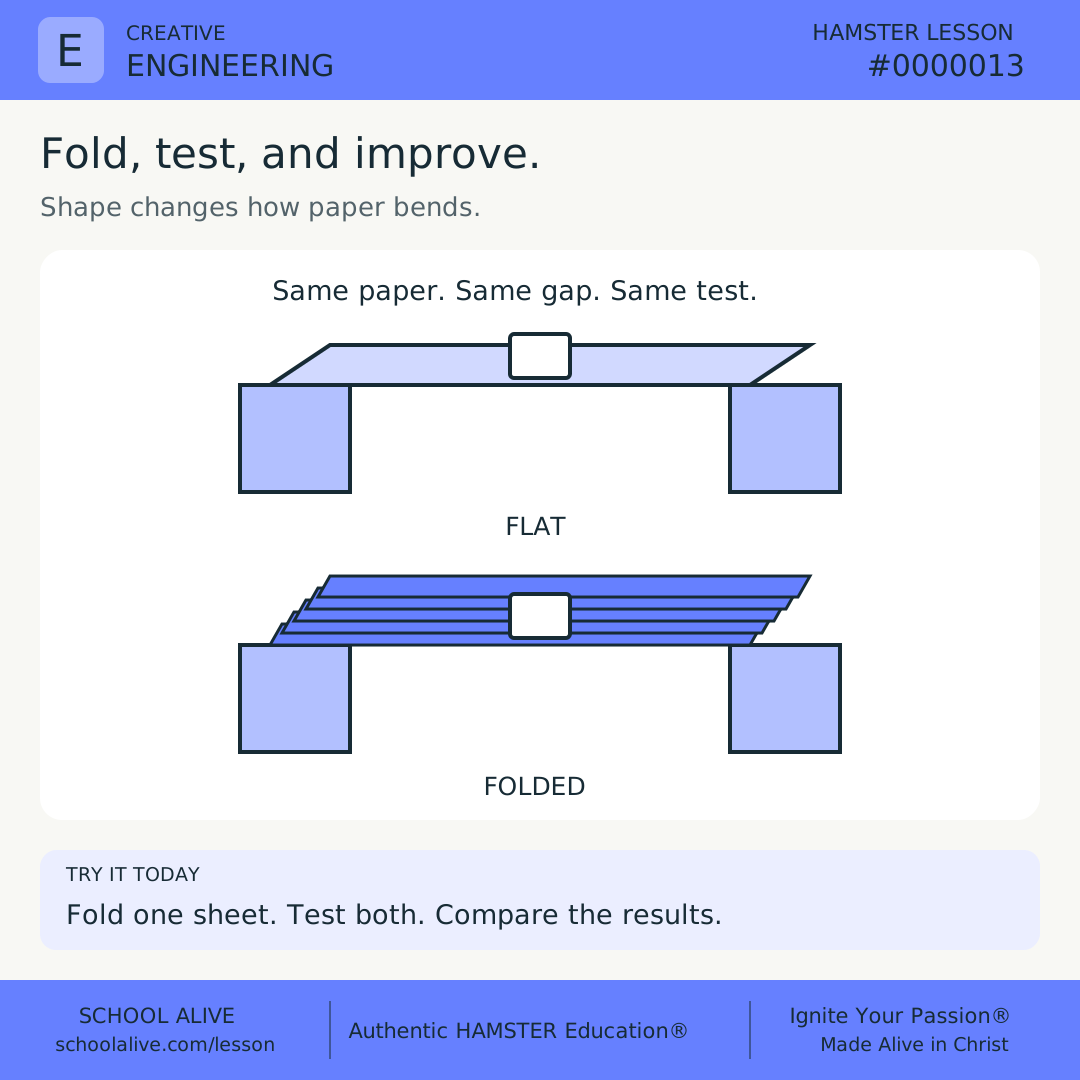
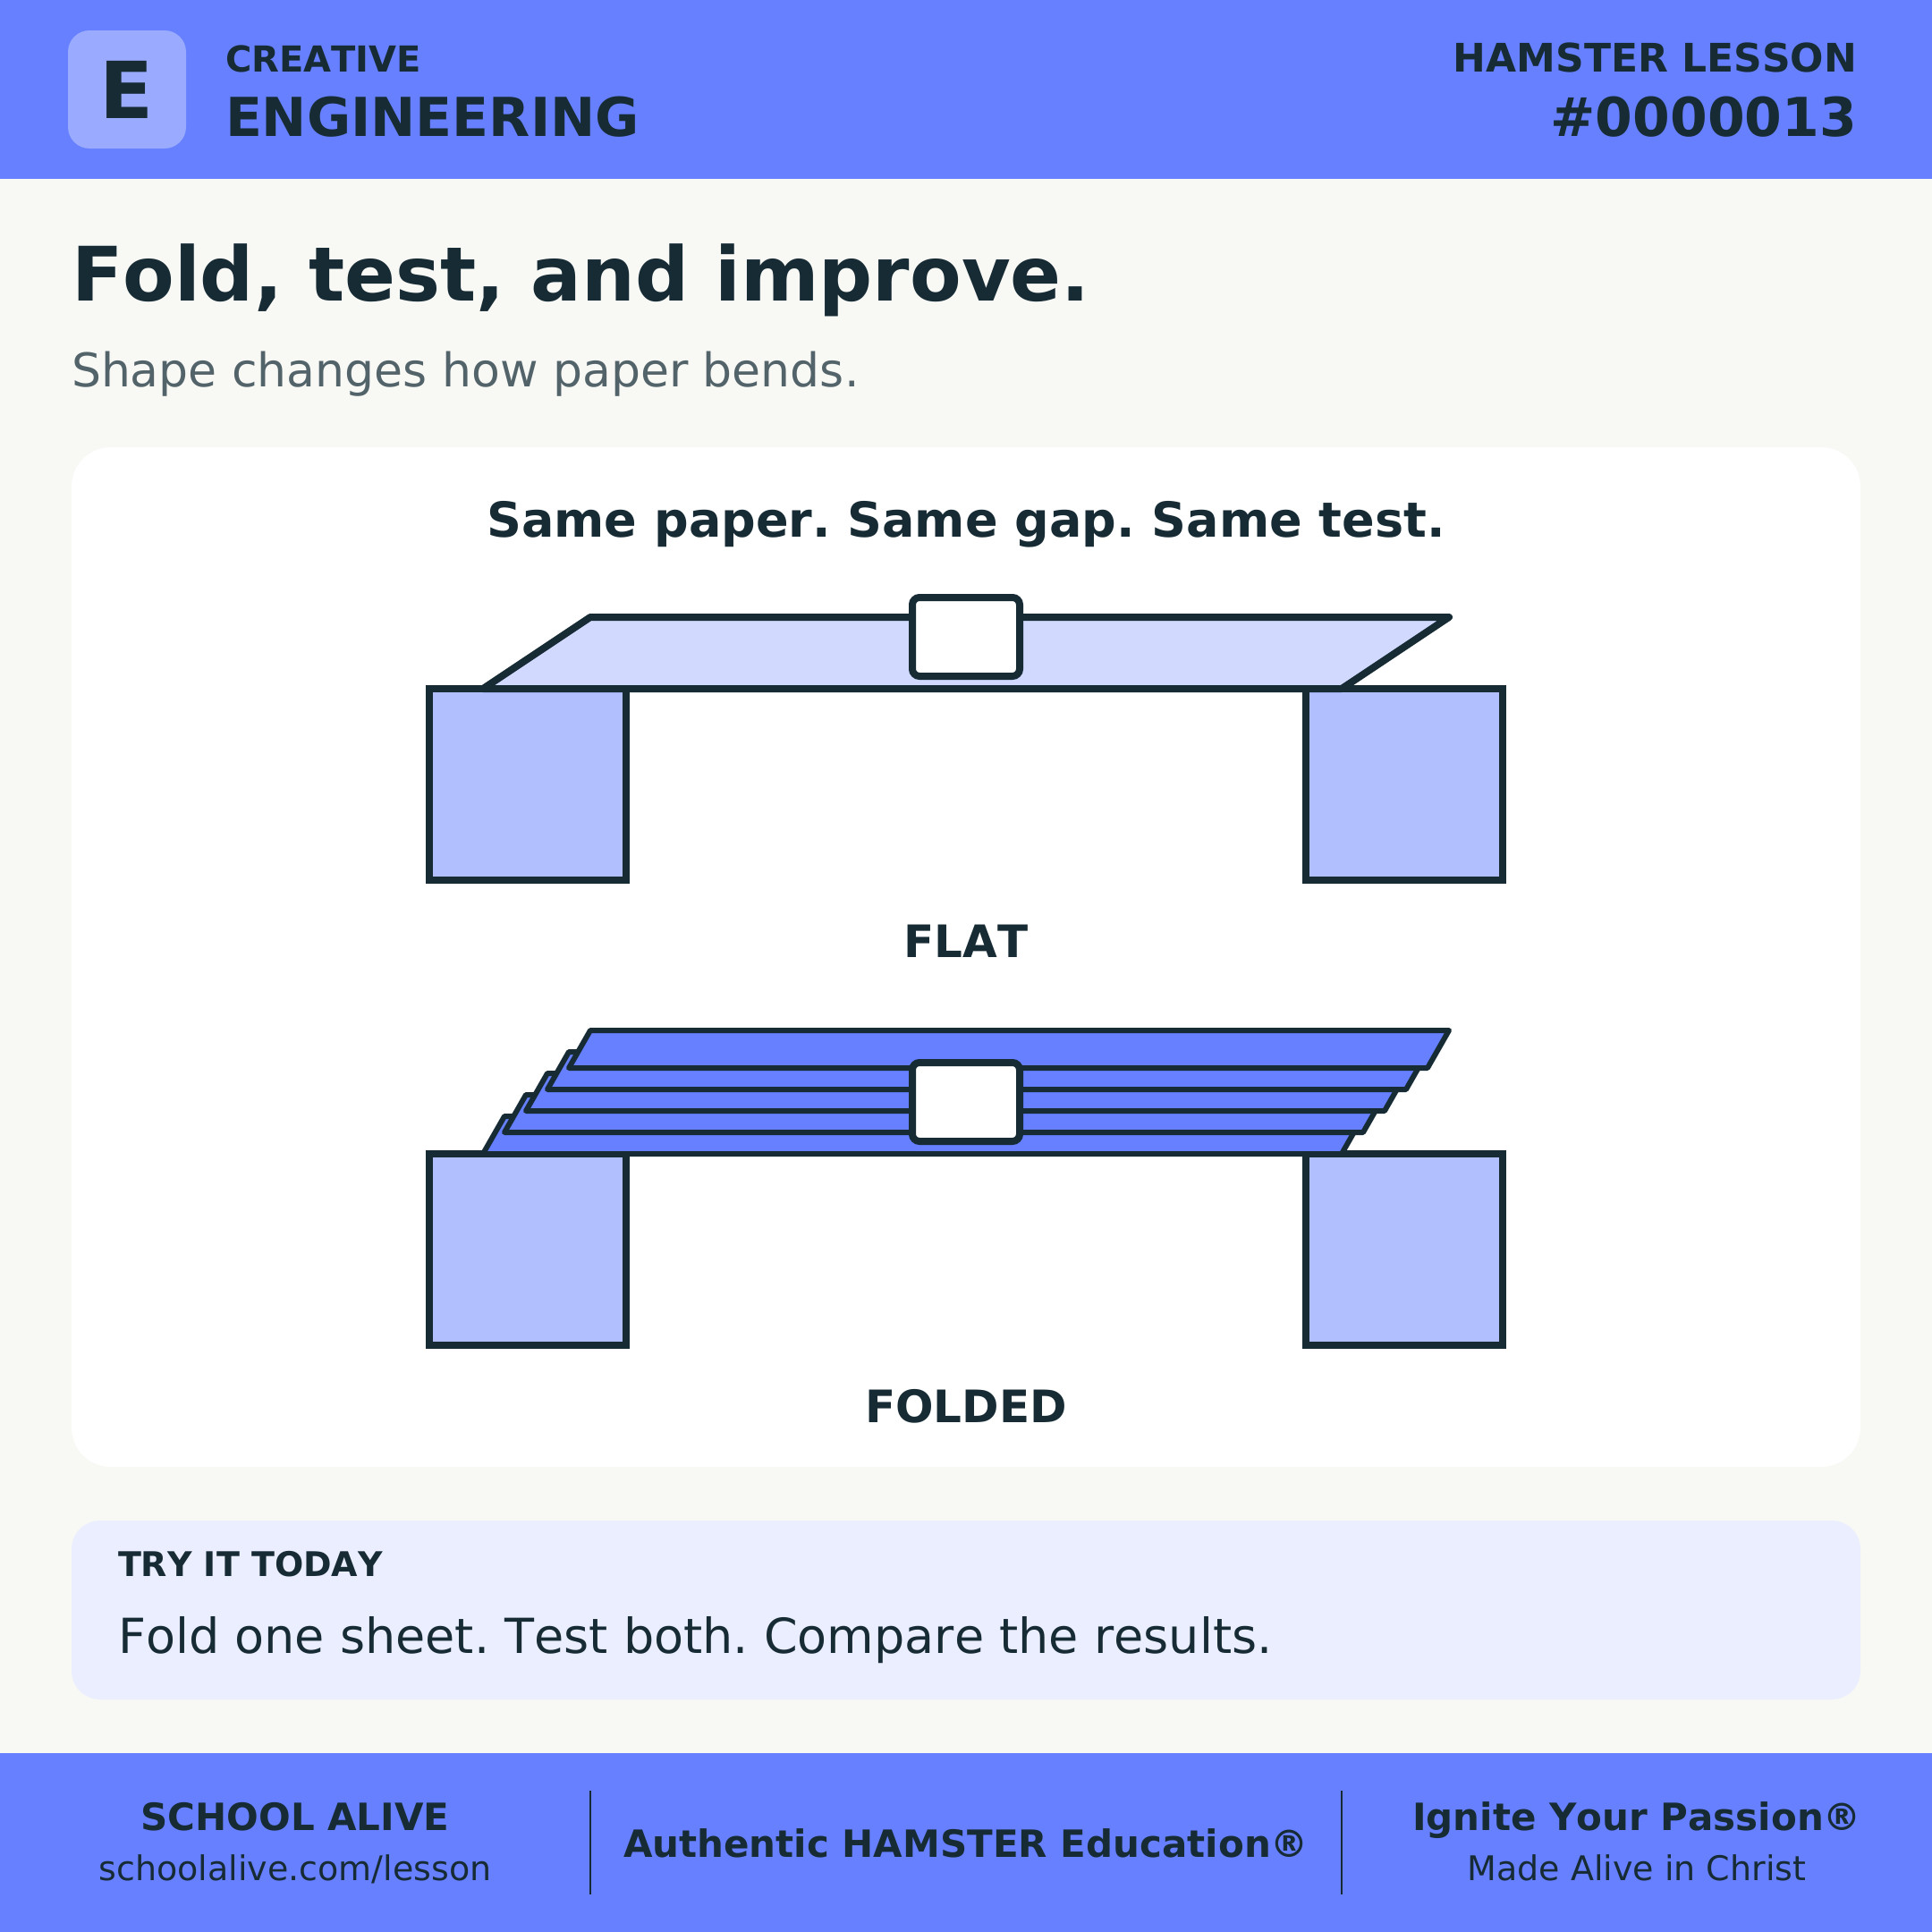
Compare a flat sheet with an accordion-folded sheet across two supports. Keep the gap the same and add matching loads at the center.
 Compare a flat sheet with an accordion-folded sheet across two supports. Keep the gap the same and add matching loads at the center.
Insight
Shape, fold direction, and the distance between supports matter. Changing everything at once makes it hard to know what caused a difference.
 Shape, fold direction, and the distance between supports matter. Changing everything at once makes it hard to know what caused a difference.
Connection
Testing and improving a design can help us use materials wisely. A paper model lets us explore an idea before building something larger.
 Testing and improving a design can help us use materials wisely. A paper model lets us explore an idea before building something larger.
Challenge
With an adult, compare two equal sheets over supports 10 cm apart. Pleat one sheet along the span. Add equal small blocks one at a time, and count how many each design holds before it gives way.
 With an adult, compare two equal sheets over supports 10 cm apart. Pleat one sheet along the span. Add equal small blocks one at a time, and count how many each design holds before it gives way.
Dive deeper
Context
A design meets a need within limits. Our model must span a gap and hold blocks using just one sheet. It is not a bridge for people.
Understand the idea
Folding changes the paper’s cross-sectional shape. Giving the section depth can make this model more resistant to bending without adding more paper.
Keep paper type, support spacing, and test blocks the same. Place loads consistently. Damage from an earlier test can affect results, so use fresh sheets for repeat trials.
Watch what fails: the paper bends, folds flatten, or an end slips. Use that observation to choose one specific improvement and test again.
Compare and redesign
- With an adult, compare two equal sheets over supports 10 cm apart. Pleat one sheet along the span. Add equal small blocks one at a time, and count how many each design holds before it gives way.
- Record the counts and where the paper gave way. Keep blocks close to the tabletop and away from young children.
- Change only fold size, using another equal sheet. Repeat the test and explain whether it improved.
Discuss together
- Why must the gap between supports stay the same?
- What did you learn from a design that did not work?
Introducing Microlessons
One idea. Seven steps. A practical discovery.
Begin with a question and a clear answer. Explore the history, an example, and a deeper insight. Connect the idea to everyday life, then put it into practice.
Read on your own or talk it through together. Each prepared edition includes a shareable image, concise text, and a one-page PDF.
How the 7 steps work
Each lesson moves from curiosity to understanding to practical action. Here is what each step contributes.
Question
Opens a question worth exploring and gives the lesson a clear purpose.
Answer
Gives a clear starting point that the rest of the lesson helps us understand.
History
Shows how people encountered the idea and how their discoveries shaped what we know.
Example
Makes the idea concrete through a situation, demonstration, or worked example.
Insight
Draws out the deeper principle so we understand why the idea matters.
Connection
Connects the idea to other disciplines, our faith, and everyday life.
Challenge
Turns understanding into action through something to try, practice, or explain.