
Lesson
See the space between.
AColorful ArtNotice the space around subjects and objects.
Visual arts · Explore negative space—the area around and between subjects—and how it helps us see shapes and composition.
Question
Can the empty space in a picture help tell the story?
 Can the empty space in a picture help tell the story?
Answer
Yes! Negative space is the area around and between the subjects of an artwork. Positive space is the area occupied by the subject.
 Yes! Negative space is the area around and between the subjects of an artwork. Positive space is the area occupied by the subject.
History
Sculptor Barbara Hepworth made openings part of the sculpture itself. Viewers could look through a form as well as at it, discovering how solid shapes and empty spaces work together.
 Sculptor Barbara Hepworth made openings part of the sculpture itself. Viewers could look through a form as well as at it, discovering how solid shapes and empty spaces work together.
Example
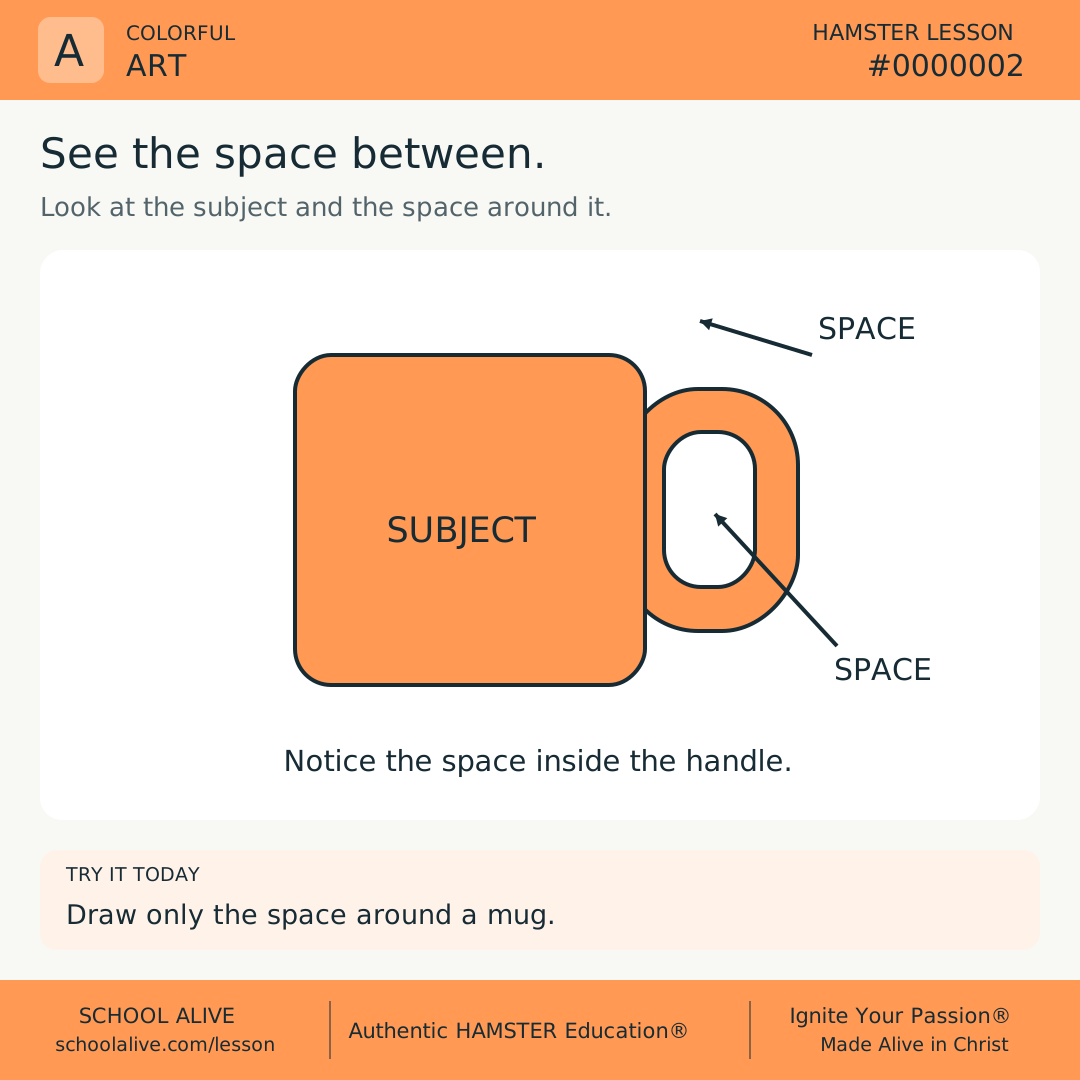
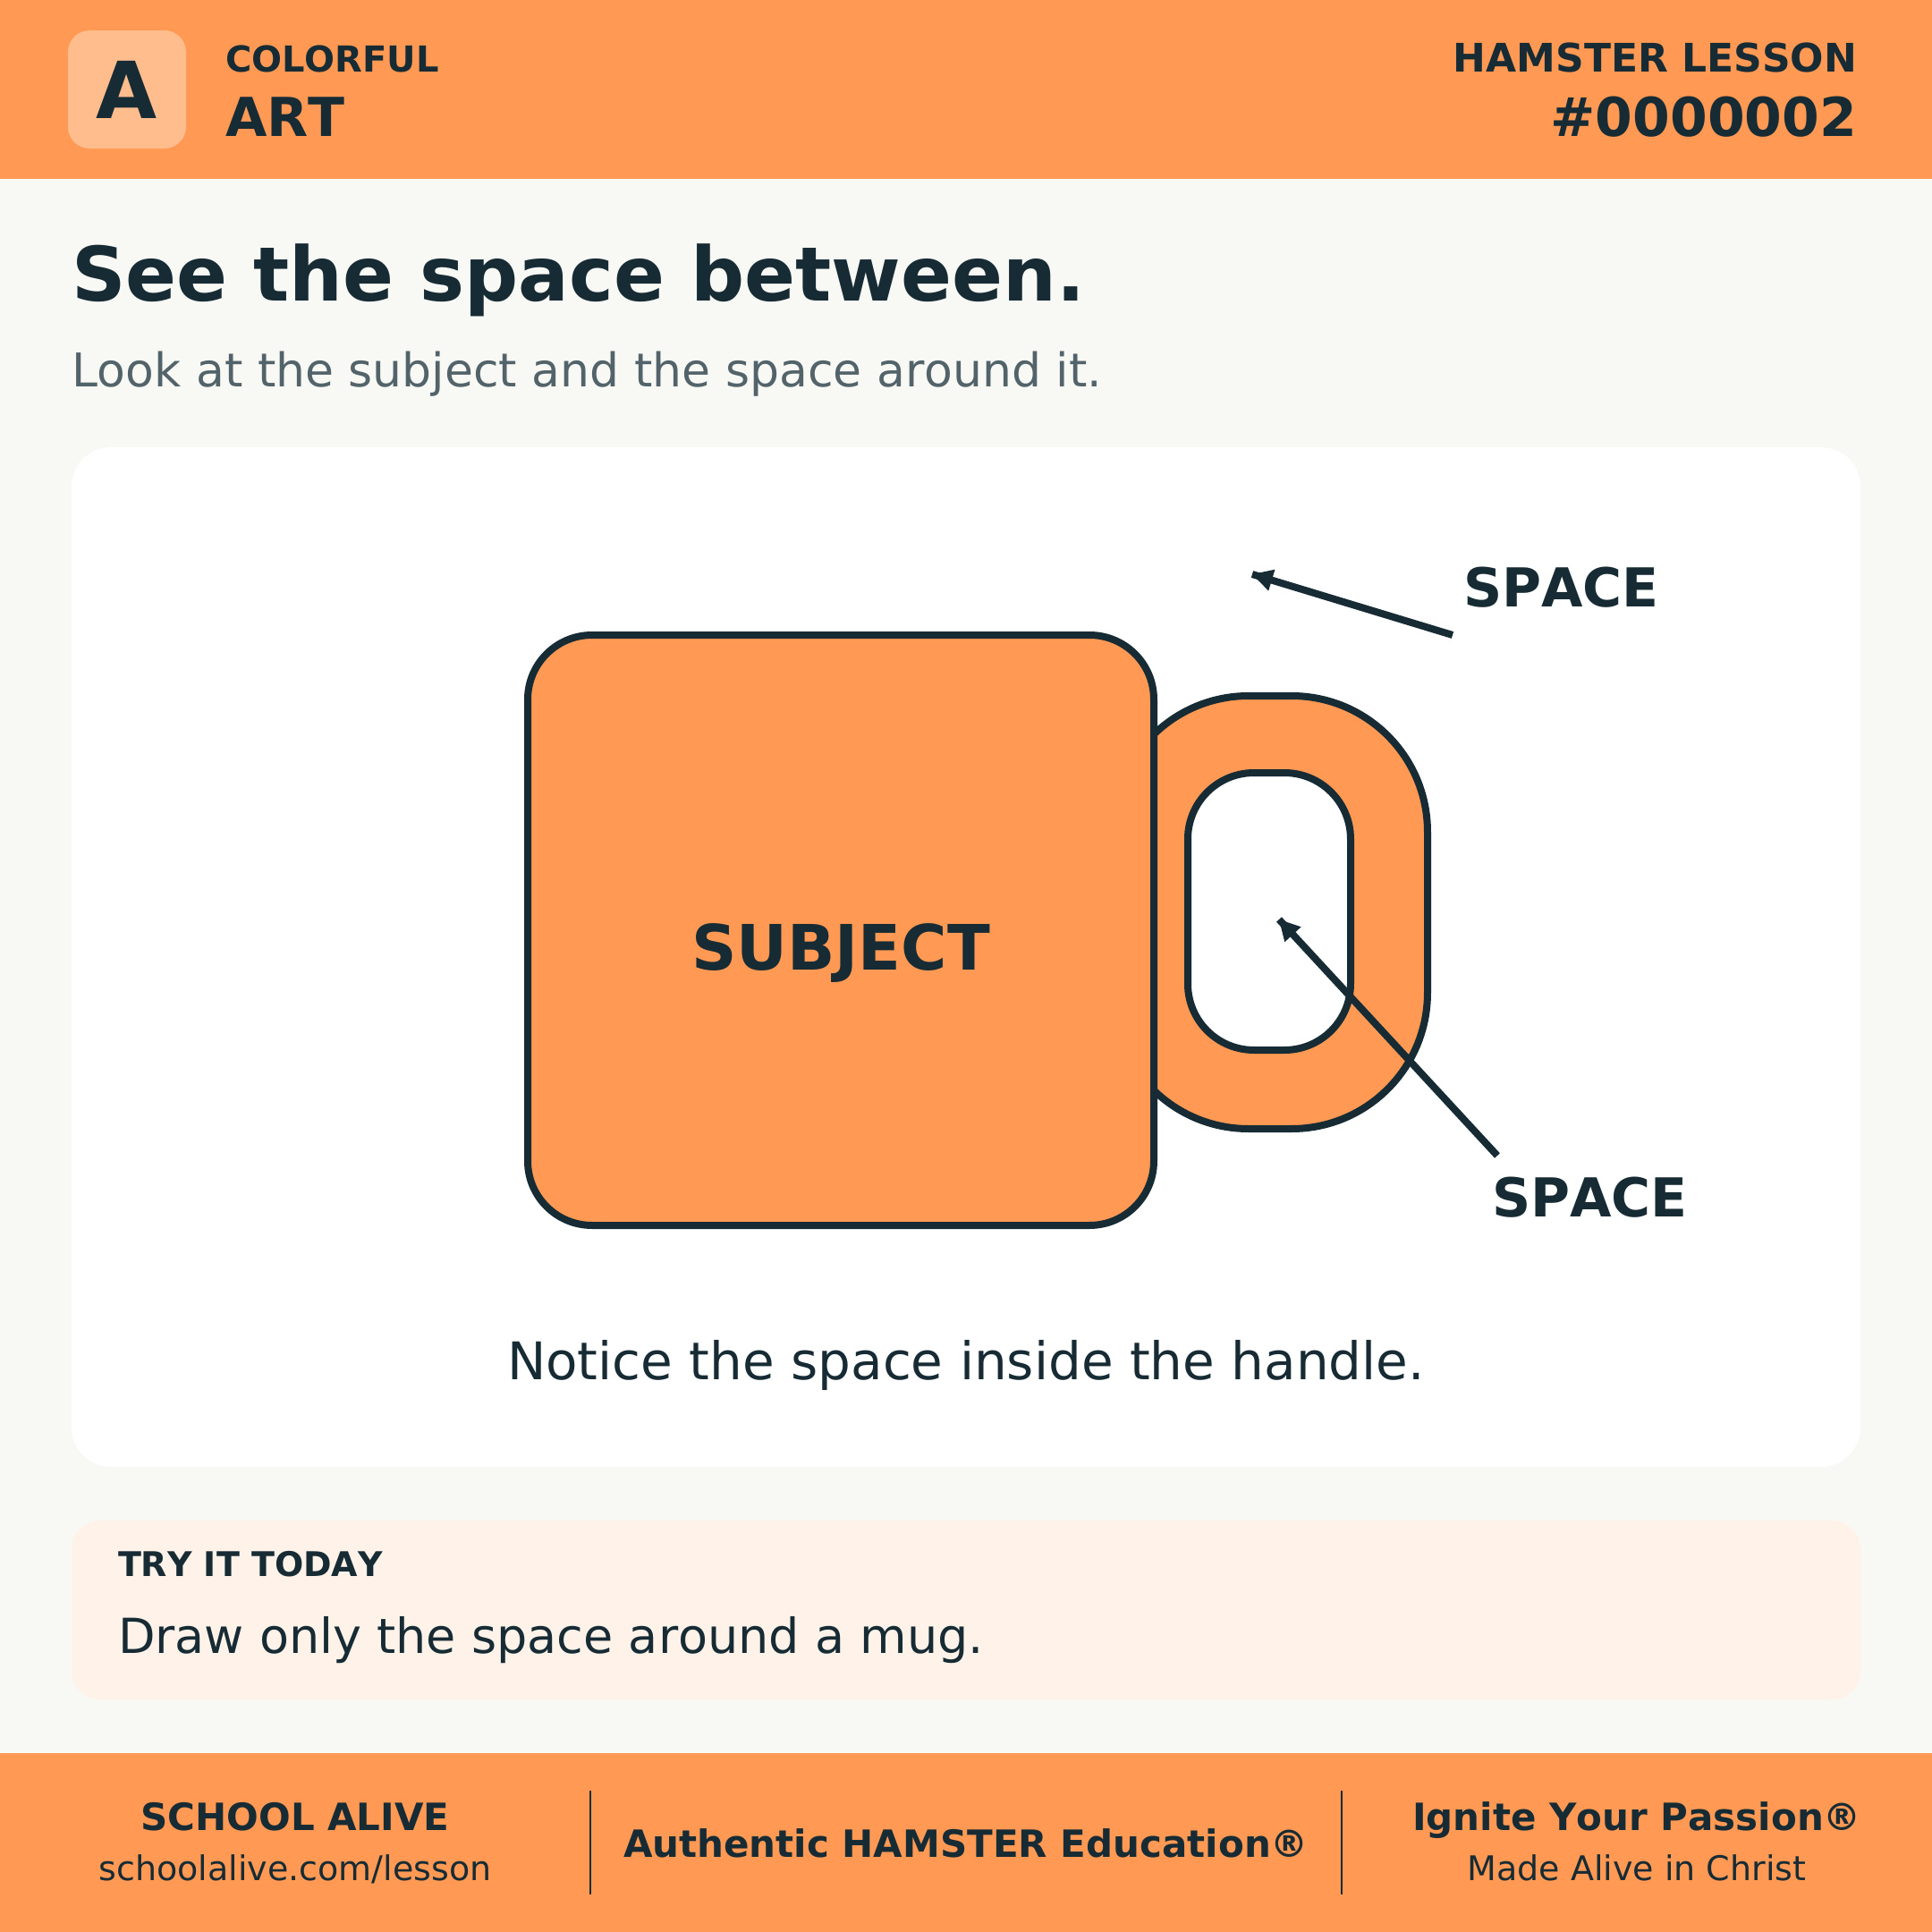
Picture a mug on a table. The mug is positive space. The spaces around the mug and inside its handle help us recognize its shape.
 Picture a mug on a table. The mug is positive space. The spaces around the mug and inside its handle help us recognize its shape.
Insight
Drawing the surrounding spaces can help you notice proportions more carefully. You begin seeing what is actually there instead of drawing only what you expect a mug to look like.
 Drawing the surrounding spaces can help you notice proportions more carefully. You begin seeing what is actually there instead of drawing only what you expect a mug to look like.
Connection
This idea matters in painting, photography, page layouts, and signs. Leaving room around an important element can make it easier to notice and understand.
 This idea matters in painting, photography, page layouts, and signs. Leaving room around an important element can make it easier to notice and understand.
Challenge
View a mug from the side with its handle visible. Draw and shade the spaces around it and inside its handle, leaving the mug unshaded. Compare your drawing with the mug. Which shapes or proportions did you notice more carefully?
 View a mug from the side with its handle visible. Draw and shade the spaces around it and inside its handle, leaving the mug unshaded. Compare your drawing with the mug. Which shapes or proportions did you notice more carefully?
Dive deeper
Context
In visual art, composition is the arrangement of what we see. The spaces around and inside a subject help shape that arrangement just as the subject does. Barbara Hepworth explored this relationship through openings in her sculptures.
Understand the idea
Positive and negative describe roles in a composition, not good and bad. The mug is positive space; the opening in its handle and the surrounding area are negative space. Negative space can have color, texture, and a definite shape—it does not have to be white or literally empty.
Look at the contour shared by the mug and its surroundings. The same edge describes both. Drawing the shape beside an object gives you another way to check its proportions. Moving your viewpoint changes those shapes, even though the object itself stays the same.
Try a two-view comparison
- Place a mug with its handle visible. Make a small sketch by outlining the mug.
- From the same viewpoint, make a second sketch by shading only the space around the mug and inside the handle. Compare the two drawings with the real mug.
- Move to one side and sketch the handle opening again. Describe how its shape changed. Which view made the opening easiest to notice?
Discuss together
- Where did drawing the surrounding space help you correct a proportion?
- How could space around a word, photograph, or sign make its message clearer?
Introducing Microlessons
One idea. Seven steps. A practical discovery.
Begin with a question and a clear answer. Explore the history, an example, and a deeper insight. Connect the idea to everyday life, then put it into practice.
Read on your own or talk it through together. Each prepared edition includes a shareable image, concise text, and a one-page PDF.
How the 7 steps work
Each lesson moves from curiosity to understanding to practical action. Here is what each step contributes.
Question
Opens a question worth exploring and gives the lesson a clear purpose.
Answer
Gives a clear starting point that the rest of the lesson helps us understand.
History
Shows how people encountered the idea and how their discoveries shaped what we know.
Example
Makes the idea concrete through a situation, demonstration, or worked example.
Insight
Draws out the deeper principle so we understand why the idea matters.
Connection
Connects the idea to other disciplines, our faith, and everyday life.
Challenge
Turns understanding into action through something to try, practice, or explain.